SolidWorks 2016 and 3D Printing
3DPrinting has caught on to industry and the home user. It allows the user to create any shape and any part using an additive technique that ensures minimal waste. The creative freedom is endless. SolidWorks has always been a front runner in innovation and allows designers to integrate with 3D printers seamlessly.
Consider the
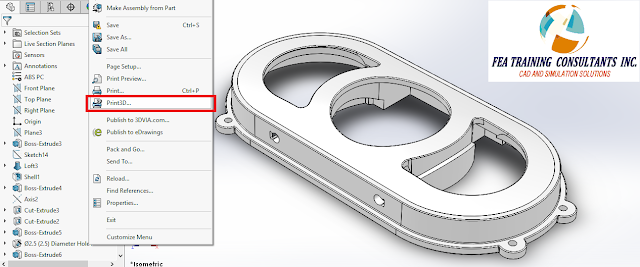
following plastic cover part:
In order to
access the 3D printing menu go to file > Print3D.
Within the
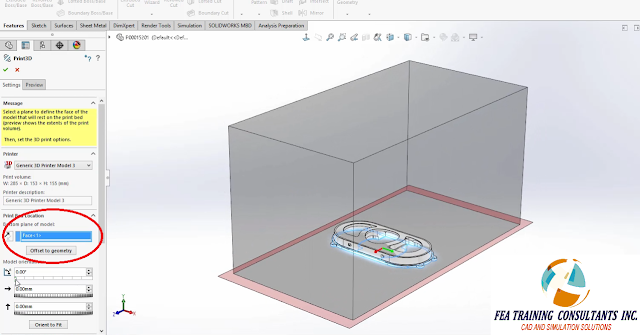
3D printing menu the designer has the ability to manipulate the part to
accommodate the 3D printing process.
With the printer selected, you can set the bottom face and 3D printing
volume.
The designer
is also able to manipulate the part by moving, rotating and even scaling the
part to best fit the print volume.
Creating a
part in the real world is different than from a virtual environment. Surfaces that are offset or free floating
will require supports to be built into place during the manufacturing process. By going to the preview tab you can allow the
software to run a check to see which surfaces require supports. This is similar to the pre-existing draft
analysis tool.
Furthermore,
you are also able to visualize the final product that includes the striation
lines that are made during the additive printing process. Striation lines are lines you see on the
finished product due to the process of adding on layer on top of another.


No comments:
Post a Comment