Using Decals
Solid
Modeling has many stages and uses that include concept, design and final
product. Some solid models are used to
convey information to a client or sometimes it is provided for marketing
purposes. In either case it is valuable
to have a high fidelity model and sometimes that includes the application of
Decals onto a solid body.
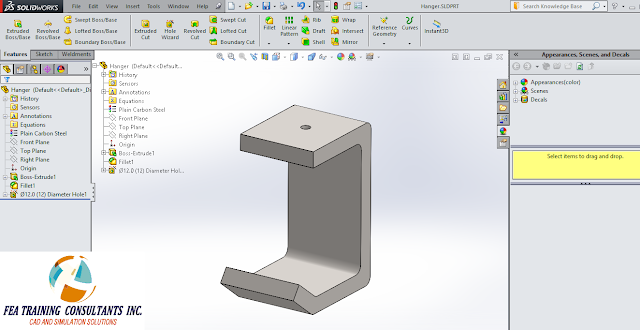
Consider the
following bracket:
In order to
add a decal, expand the task menu and select Appearances, Scenes and Decals on
the right hand side. Browse through the
decals an select the one you want. In
this case the SolidWorks decal will be applied.
Right click and select Add decal to part
The Decal
property box will appear there it will provide a preview of the decal
Select a
face on the part to apply the decal.
You’ll notice there is a triad available as
well as resizing point around the perimeter of the decal. This allows you to reposition and resize the
decal to the proper size. Once you as
satisfied, select apply.
This decal
has been successfully applied. However
you may notice that the background color does not match the part color. In order to make them match, a mask needs to
be applied.
Select and
applying a new decal for reference.
Scrolling
down the decal property box you will find the Mask Image option. Select “Selective Color Mask” and click on
the eye dropper icon. With the eye
dropper icon selected, select the color which you would like to omit from the
decal. i.e. make it transparent. In this
case white is chosen.
As a result
the new decal has a mask successfully applied.
The inclusion of the mask makes the decal and model look cleaner.


No comments:
Post a Comment